 Is your home currently lacking in hot water? If so, you probably have a house full of unsanitary dishes, unwashed clothes, and unhappy people.
But if your water heater isn’t heating water properly, how could you figure out what the problem is? Well, one potential solution is to test your water heater elements.
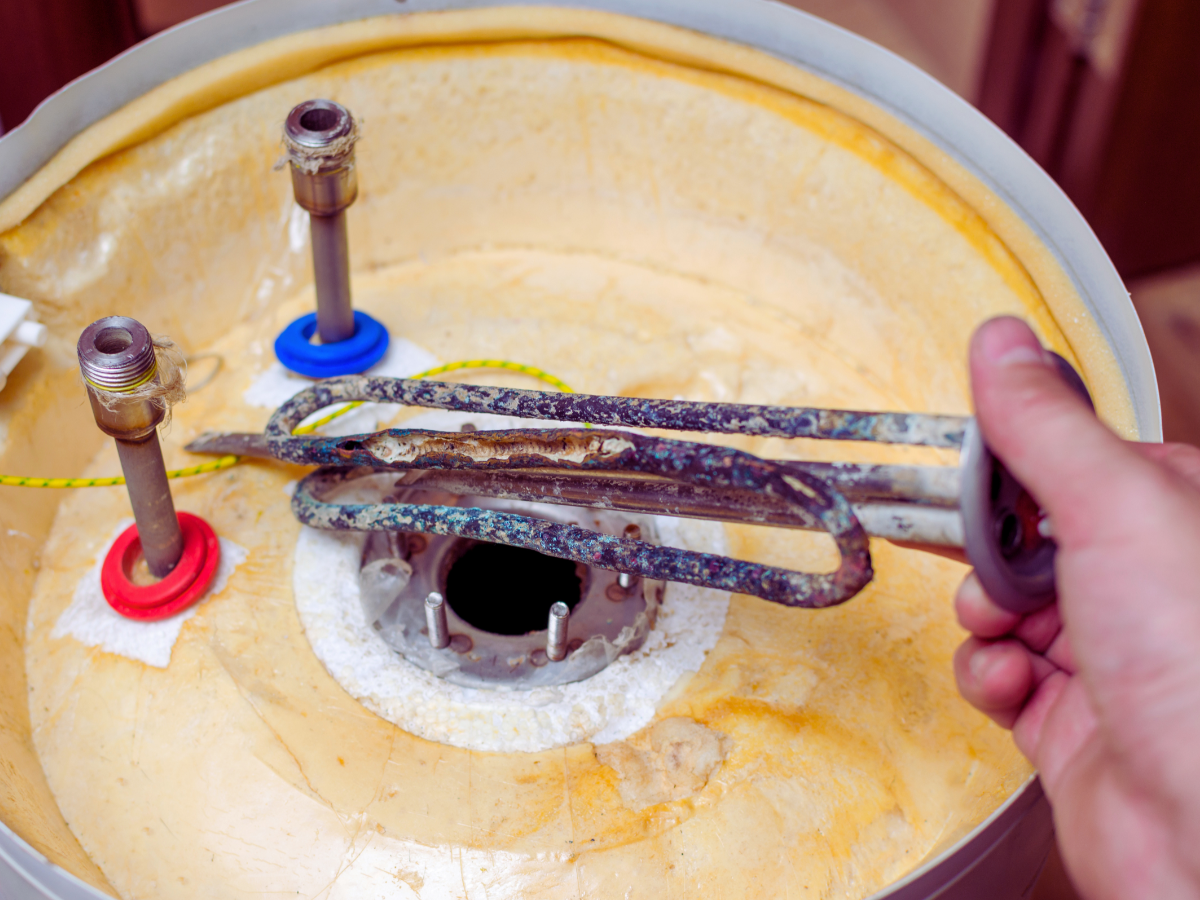
A water heater element is an electric coiled rod, made of metal, that generates heat to warm water. A standard home water heater contains two elements: upper and lower.
To test your elements, just follow the steps below. And, in the process, you’ll find that a multimeter is a highly useful measuring tool. In fact, this versatile electronic instrument could let you know immediately whether or not an element’s working.
Quick Takeaways
- Bad water heating elements lead to a lack of water, lukewarm water, or slow recovery times.
- With a multimeter, you can test most water heater elements.
- A failed element might show no continuity or an abnormal resistance reading.
- Always turn off the power before testing a water heater element.
- Testing an element can help you determine whether you need repairs or a replacement.
Signs You Should Test Your Water Heater Element
If you spot any of these red flags, don’t delay taking action. Otherwise, the problem could quickly get worse:
- No hot water
- Lukewarm water
- Hot water that runs out quickly
- A water heater that keeps tripping your breaker
- Longer water heating times
Tools You’ll Need
Before you begin testing your elements, gather these handy implements:
- A multimeter
- A screwdriver
- A non-contact voltage tester
- Work gloves
Step 1: Turn Off the Power to the Water Heater
Shut the power off at the circuit breaker before doing anything else. If you forgot to do so, you’d risk a severe electrical shock.
Step 2: Remove the Access Panels
Use a screwdriver to take off the two thermostat covers. In addition, you may have to peel away some insulation.
Step 3: Confirm the Power Is Off
Take your voltage tester — also known as a voltage test pen — and test it on a live outlet or cord. If this device beeps or flashes a red light, you’ll know it’s working correctly.
Next, hold the tip of your voltage tester as close as you can to the water heater elements’ wire connections. Then test each wire separately to verify that there’s no power flowing through.
Step 4: Disconnect the Heating Element Wires
Once you’ve disconnected these wires, you could just tuck them aside until you’re finished testing.
Step 5: Set Your Multimeter to Ohms
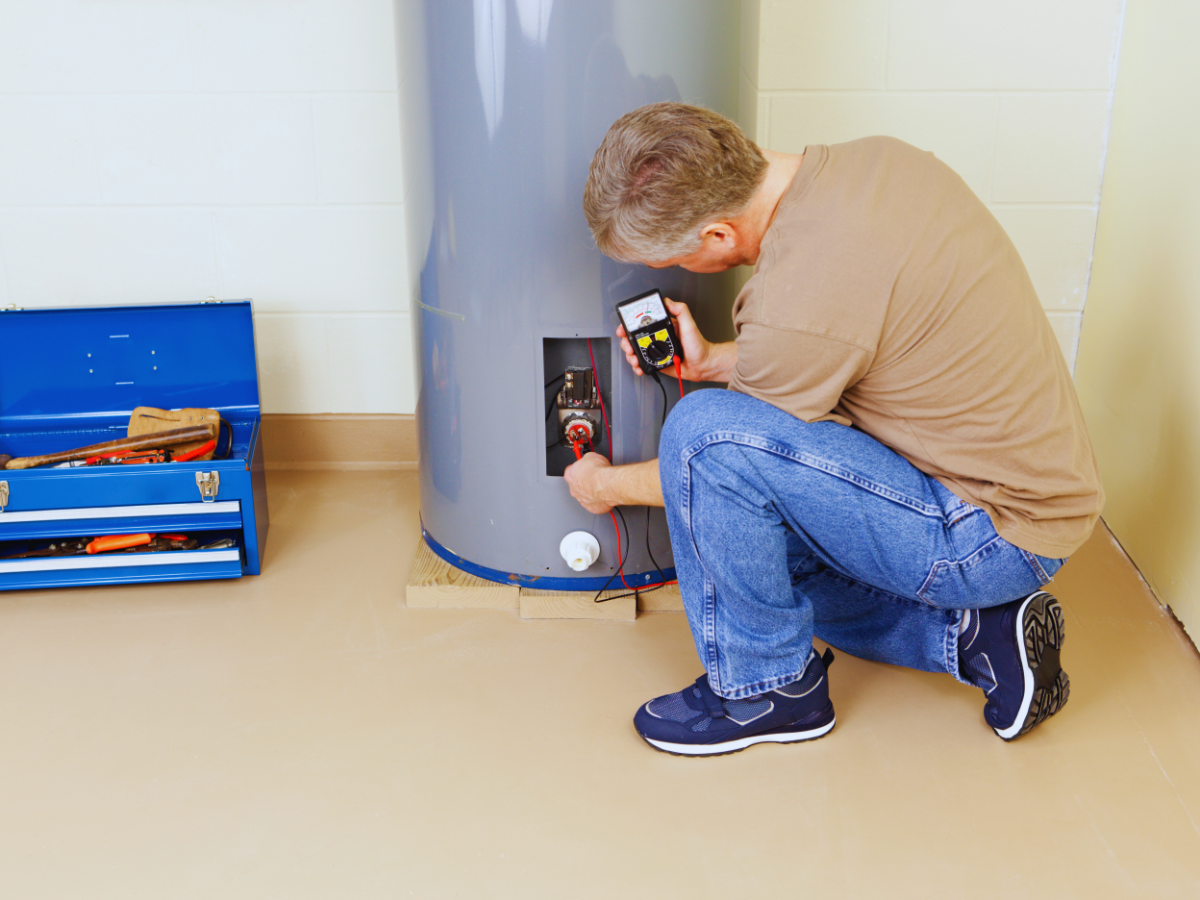 Your multimeter should have an “Ohm” setting or a “Continuity/Ohm” setting. And that setting probably has a horseshoe icon beside it.
Step 6: Test the Heating Element Resistance
The heating element wires are connected to two screws. Once you’ve moved the wires aside, you can get a resistance reading by touching the screws, one at a time, with your multimeter’s probe.
A normal resistance reading would fall between 10 and 30 ohms.
Step 7: Check for Continuity and Ground Faults
Water heater continuity is the proper flowing of electricity throughout the heating elements. A ground fault, meanwhile, is a dangerous situation whereby electricity escapes this pathway, traveling into the water heater’s metal covering or down into the ground.
To test for a ground fault, set your multimeter to its lowest resistance setting. Then touch one multimeter probe to an element’s terminal screw. And touch the other probe to the water heater tank; it must be a bare, metallic part of the tank with no paint on it.
Now look at the multimeter’s screen. It should say “infinite resistance” or “OL,” which is short for “open line.” Any other reaction from your multimeter — for example, a beeping sound or a number appearing on its screen — would be a danger sign.
Step 8: Interpret Your Results
If your resistance reading is outside the range of 10 to 30 ohms — or if you get a ground fault signal — you should replace the faulty water heater element as soon as possible.
Common Reasons Water Heater Elements Fail
Water heater elements are sensitive devices. Numerous factors can interfere with them, including:
- Sediment buildup
- Hard water
- Dry firing (when a water heater’s power source goes on before its tank is full)
- Electrical problems
- Age
- Wear and tear
Should You Replace the Element or the Entire Water Heater?
Just because a water heater element has failed doesn’t mean your whole water heater must be replaced. In fact, if the heater is less than 10 years old, and the only problem you have is a failed element, you could simply replace the element.
On the other hand, if your unit’s at least 10 years old, or if you’re dealing with water heater issues unrelated to the elements, it’s probably time for a new heater. Examples of those issues include rusty water, strange water heater odors, loud noises coming from the tank, and water leaking out of the machine.
Benjamin Franklin Plumbing of Tampa: The Hottest Water Heater Service Around
 For sure, DIY testing can be useful. It could tell you whether a water heater element is functioning or failing, and it could help you decide if you should replace your entire water heater.
Even so, this testing definitely has its limits. That’s because it takes a professional to accurately diagnose all of the issues a water heater might be facing.
Fortunately, the punctual plumbers at Benjamin Franklin Plumbing are true water heater experts. If you live in the Tampa area, you could contact us anytime to schedule a water heater inspection, repair services, or a replacement.
Whatever you need, our friendly team members will make sure you always have the hot, clean, and fresh water that you deserve.